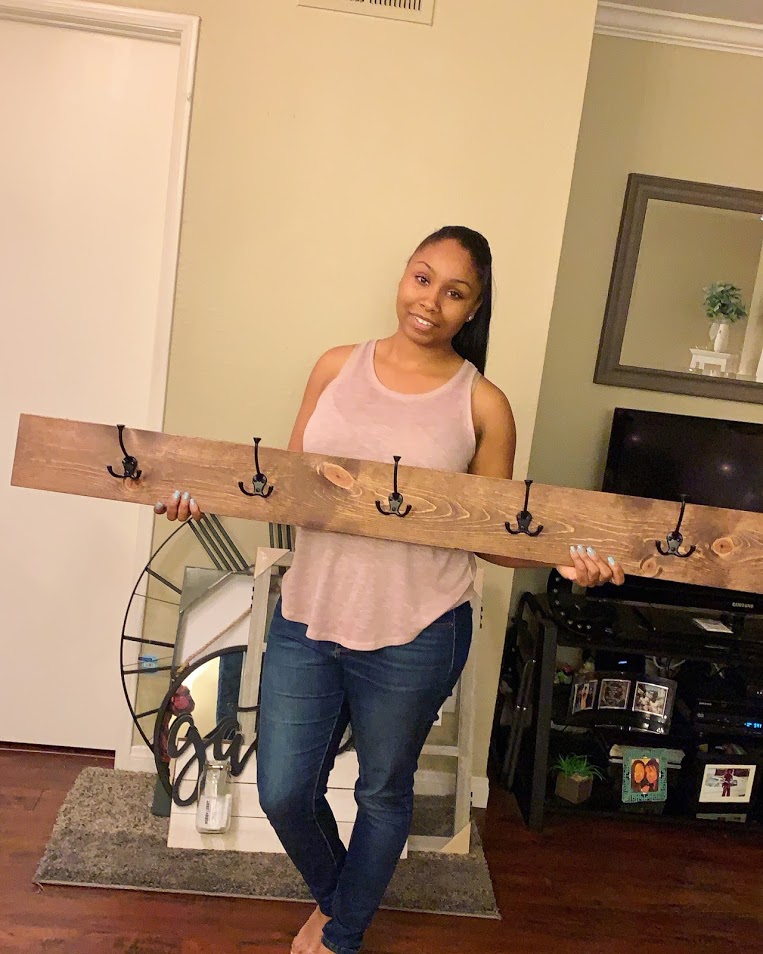
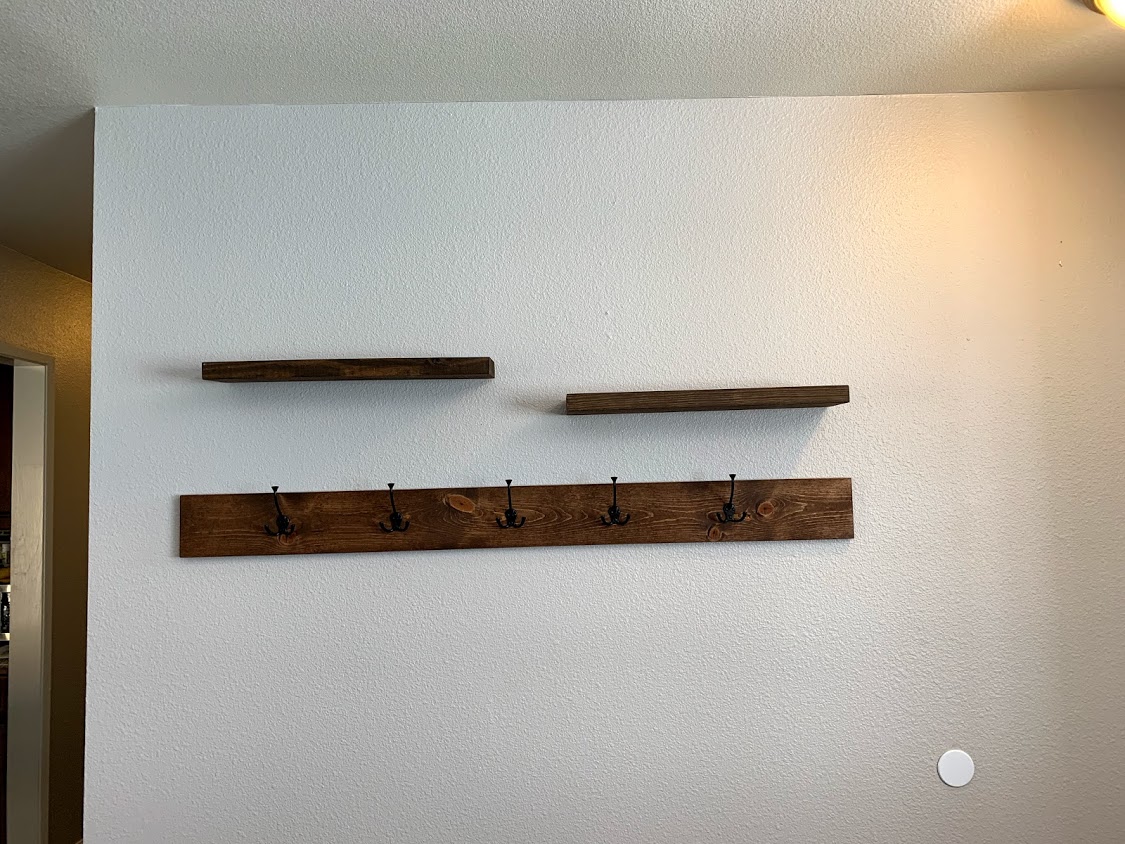
Hey friends! Its been a minute but I wanted to stop by and talk about the DIY Coat Rack I made for a client. Watch the video below to hear my thoughts. Under the video is a quick check list summarizing what you should think about when constructing your rack. There are tons of instructions available online, Pinterest and YouTube. They all are pretty similar so in no preference would I suggest.
Tips & Thoughts:
- Decide on the aesthetic of your coat rack
- Think of paint/stain color, what type of hook or knob would best fits its purpose, think of the colors and sizes. Wide good vs. thin wood, glam/rustic/traditional…options are endless!
- Determine how many hooks/knobs you want
- Hooks vary from single, double and triple
- Determine the length of your coat rack
- Use painters tape on your wall to see the appropriate/desired length
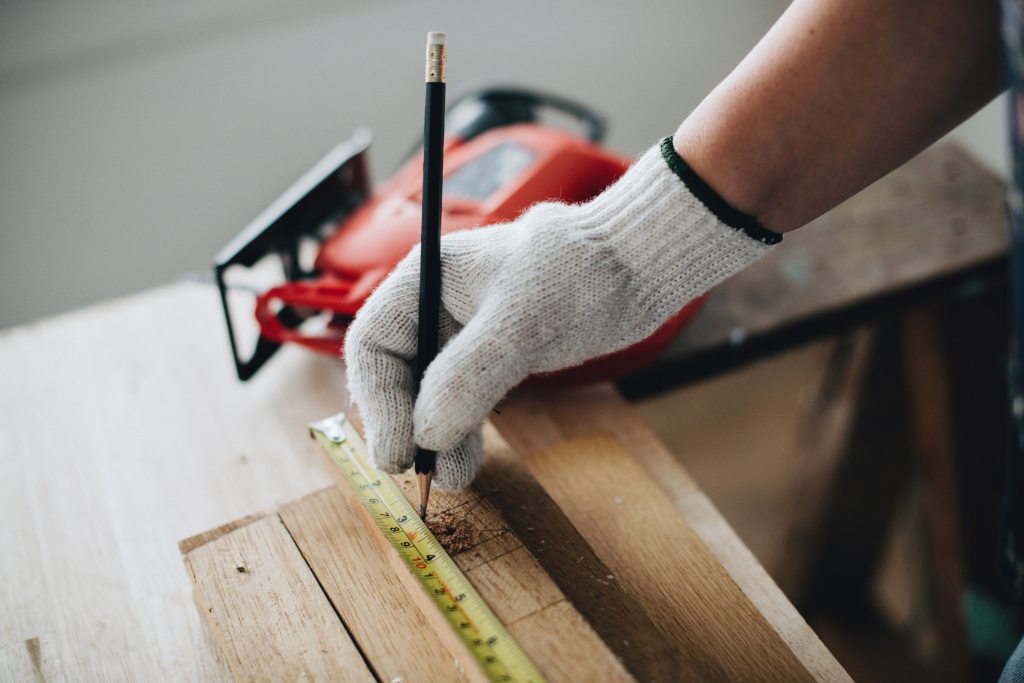
- Measure and space out the hooks before mounting
- Just remember this can get tricky when wall mounting because you will want to ensure some hooks make the stud on the wall
- Determine the weight of your hanging objects. This will determine how many studs you need to locate on your wall and whether you want to drill more holes in your wall to keep in mounted. You can also just drill the hooks on to your wood and then mount the whole rack separately with screw between your hooks.
- Level your hooks!!!
Supplies used:
- Wood piece of your choice (your local hardware store has a variety of wood types and they will also cut your desired length)
- Hooks or knobs (your preference)
- Drill
- Stud finder
- Paint/wood stain (if you like the wood the natural color it is as you purchased it, you don’t have to add paint or stain.) Ex: oak, pine, etc.
- Tape measure
- Level
- Pencil
- Painters tape
Thanks to my partner for doing the actual labor on this rack! I will be back for more chat about the client install and other pieces that completed this project.


Leave a comment